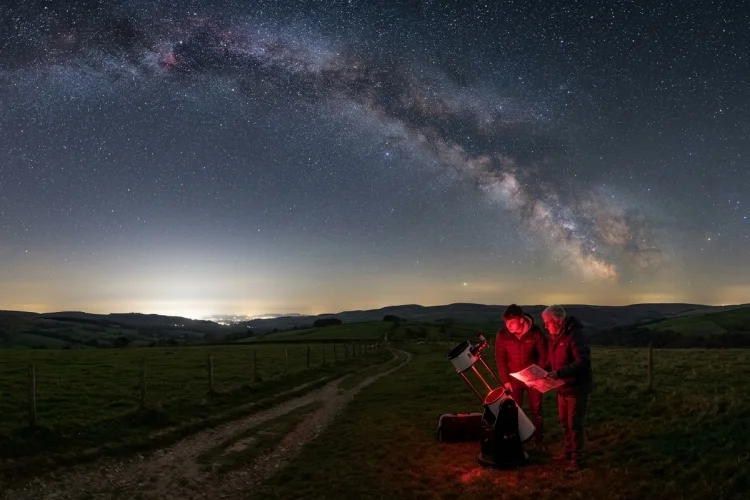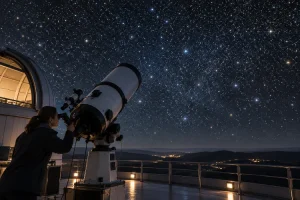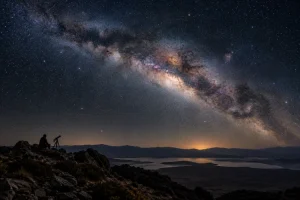
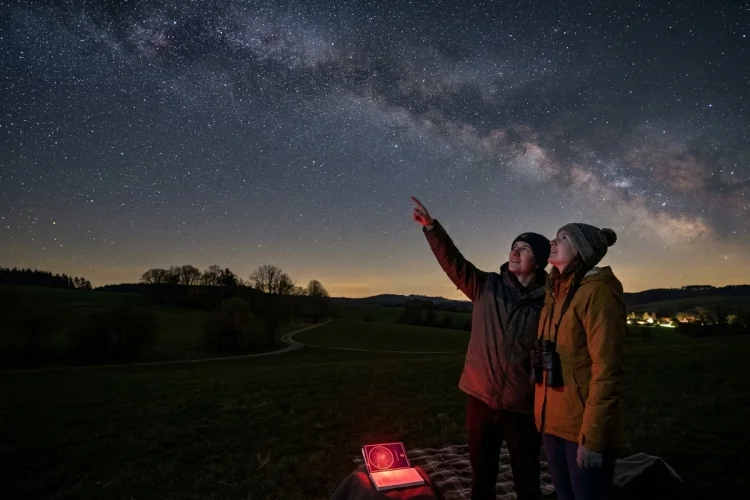
You do not need a spaceship, an expensive telescope, or a degree in astronomy to explore the universe. On a clear night, some of the most interesting celestial objects are already visible from a backyard, balcony, beach, or quiet field.
Stargazing for beginners starts with something simple: looking up and paying attention. As your eyes adjust, you may notice that stars have different colors, planets shine more steadily, and the Moon changes position and shape throughout the month.
With a little practice, the night sky begins to feel less like a random collection of lights and more like a map you can understand.
The best part is that you can begin without buying any equipment. NASA recommends starting with your unaided eyes, while binoculars can later provide an easy and versatile upgrade.
This guide covers where and when to observe, what to bring, how to recognize celestial objects, and how to build your first practical stargazing routine.
Choose the Right Time for Stargazing
A successful night of skywatching begins before you step outside. Check the weather forecast and look for a night with clear skies, low cloud cover, and comfortable conditions.
Humidity can make the sky look hazy, especially near cities or coastlines. Wind may also make binoculars and telescopes harder to hold steady, so calm, dry evenings often provide clearer views.
The Moon phase matters as well. A bright full Moon can wash out faint stars, galaxies, and the Milky Way. For deep-sky observing, nights close to the new Moon usually offer darker conditions.
That does not mean you should avoid the Moon entirely. A crescent or half Moon is an excellent beginner target because shadows along the boundary between light and darkness make craters and mountains easier to see.
DarkSky International recommends checking both weather and lunar conditions when planning a serious stargazing trip.
Find a Dark and Safe Observing Location
Artificial lighting creates skyglow, which hides many faint stars. Moving away from streetlights, illuminated buildings, and busy roads can dramatically improve what you see.
You do not always need to travel far. A dark corner of a garden or park may be enough for observing the Moon, bright planets, and major constellations.
For the Milky Way and faint deep-sky objects, however, a rural location or recognized dark-sky site will provide a much better experience.
International Dark Sky Places are protected locations selected partly for the quality of their night skies. Under suitable conditions, some of these sites offer naked-eye views of the Milky Way that are impossible to see from heavily illuminated cities.
Safety should remain your priority. Visit unfamiliar locations during daylight, check access rules, tell someone where you are going, and avoid standing near roads, cliffs, unstable ground, or private property.
Let Your Eyes Adjust to the Darkness
Your eyes need time to become sensitive to low light. After entering a dark environment, allow at least 15 minutes for your vision to adjust, although longer can be even better.
Avoid looking directly at white flashlights, car headlights, or bright phone screens. One brief exposure can reduce your night vision and force your eyes to begin adapting again.
A dim red flashlight is useful for checking a star chart, adjusting equipment, or safely walking around. Red light generally interferes less with dark adaptation than bright white light.
Many astronomy apps include a red-screen or night mode. Turn it on before your observing session and reduce your phone’s brightness as much as possible.
Start With Your Eyes, Not a Telescope
Buying a telescope immediately is one of the most common beginner mistakes. A telescope has a narrow field of view, and it can be frustrating when you do not yet know where to point it.
Begin by learning the basic layout of the sky with your unaided eyes. Identify the Moon, several bright stars, a visible planet, and one or two major constellations.
A star map, planisphere, or skywatching app can show which objects should be visible from your location at a particular date and time.
NASA recommends these tools for learning the general shapes of constellations and understanding how the sky changes throughout the year.
Do not try to memorize the entire sky in one night. Choose one recognizable pattern and use it as a guide to nearby objects. This technique, often called star-hopping, becomes especially useful when you later begin using binoculars or a telescope.
Use Binoculars as Your First Upgrade
Binoculars are often the best first instrument for a new observer. They are portable, easy to aim, and provide a much wider view than most telescopes.
Common sizes such as 7×50, 8×42, or 10×50 can work well for casual astronomy. The first number describes magnification, while the second gives the diameter of the front lenses in millimeters.
With binoculars, you can explore the Moon’s craters, large star clusters, some bright nebulae, and the moons of Jupiter under suitable conditions. They can also reveal far more stars than your eyes can see alone.
NASA describes binoculars as an excellent first skywatching instrument because they are generally easy to use and versatile.
Sky & Telescope similarly recommends magnifications of roughly 7 to 10 times with objective lenses between about 35 and 50 millimeters for beginners.
Rest your elbows on a table, wall, or car roof if the image shakes. A tripod adapter can make longer sessions more comfortable, especially with heavier binoculars.
Learn What to Observe First
The Moon is usually the easiest place to begin. Its surface changes appearance throughout the month, giving you new shadows, craters, and mountain ranges to examine during each phase.
Bright planets are also rewarding. Venus is extremely bright, Mars often appears reddish, Jupiter may reveal its largest moons through binoculars, and Saturn’s rings can be visible through a modest telescope.
Stars come in different colors because their surface temperatures vary. Cooler stars can appear orange or red, while hotter ones may look white or blue.
Compare stars within the same constellation and you may notice the difference without special equipment.
Constellations are useful as signposts rather than physical groups. Their stars may look close together from Earth while actually being separated by enormous distances.
After learning the brightest patterns, search for open star clusters and bright nebulae. Suitable targets depend on your hemisphere and season, which is why a current sky chart is more useful than a fixed list.
NASA publishes regularly updated skywatching guides that explain what can be observed during a particular month.
Understand the Difference Between Stars and Planets
Beginners often wonder whether a bright point is a star or a planet. One practical clue is that stars usually appear to twinkle more noticeably, while planets tend to shine with steadier light.
Stars are so distant that they look like tiny points even through most telescopes. Atmospheric turbulence can easily distort their light, creating the twinkling effect.
Planets are much closer and appear as tiny disks, although they may still look like points to the naked eye. Their light passes through slightly different paths in the atmosphere, which reduces the visible flickering.
This rule is useful but not perfect. Objects near the horizon pass through more atmosphere and may shimmer strongly, including planets. A skywatching app or chart can confirm the object’s identity.
Keep a Simple Stargazing Journal
A journal helps turn casual observing into a skill. Record the date, time, location, weather, Moon phase, equipment, and objects you saw.
You can also sketch the position of stars or the shape of the Moon. The drawing does not need to be artistic. The goal is to slow down, notice details, and compare observations over time.
Try observing the same part of the sky at the same hour over several weeks. You will notice that stars gradually shift westward from night to night because Earth is moving along its orbit around the Sun.
A journal also helps you remember which viewing conditions worked best. After several sessions, you may discover that a nearby location is darker than expected or that certain objects are easier to find before midnight.
Avoid Common Beginner Mistakes
Do not expect objects to look like processed images from major observatories. Cameras can collect light for long periods and combine multiple exposures, while the human eye sees a softer and less colorful view.
Avoid using excessive magnification. A higher number does not automatically produce a better image. Too much magnification can make objects dim, blurry, and difficult to track.
Never look directly at the Sun through binoculars, a telescope, or an unfiltered camera. Concentrated sunlight can cause permanent eye damage almost instantly. Solar observation requires certified equipment designed specifically for that purpose.
Finally, be patient. Clouds may appear unexpectedly, equipment may be difficult to adjust, and an object can take several attempts to locate. Stargazing becomes easier through repetition rather than expensive technology.
Connect With Other Stargazers
Local astronomy clubs can provide access to experienced observers, public events, and different types of telescopes. A star party allows you to look through several instruments before deciding whether you need one of your own.
Experienced observers can also teach you how to read charts, align a telescope, locate difficult targets, and understand what you are seeing. NASA’s Night Sky Network connects astronomy clubs and supports public observing activities.
Remember to respect observing etiquette. Keep lights dim, ask before touching someone else’s equipment, and avoid shining flashlights toward telescopes or other people.
Stargazing for beginners does not require complicated equipment. Start with a clear night, a safe location, your unaided eyes, and enough time for your vision to adjust.
Learn a few constellations, observe the Moon, identify bright planets, and add binoculars when you feel ready.
Dark skies and realistic expectations matter more than high magnification or expensive technology. A journal, current sky map, and local astronomy group can help you improve with every session.
Choose one clear evening this week, step outside, and spend 20 minutes looking up. Find the Moon, one planet, or a familiar constellation. That single observation can be the beginning of a lifelong connection with the night sky.